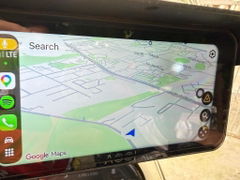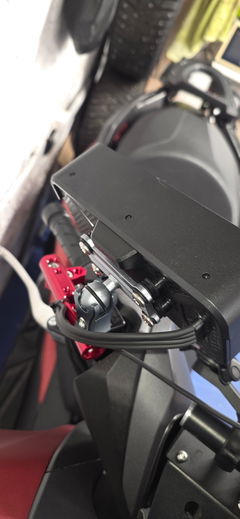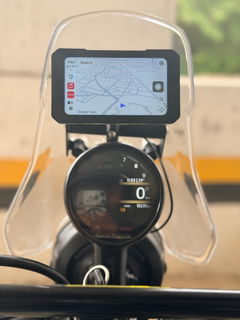


Quick Release Mount Base

18% OFFYour Next Ride
TREAT
Gifts with qualifying purchases
Halloween offer details
18% off at checkout: TREATNo subscription needed.
- Free K3 work light2+ paid items & US$200+ in merchandise after discounts.
1 per order; replaces keychain. - Free keychain2+ paid items (accessories count).
1 per order unless eligible for K3. - Free screen protector1 matching protector per eligible display purchased:
C6 Pro, C3 Pro/Plus, C9 Pro/Pro Max, D6A.
Oct 1–31, 2026
| Item | Specifications |
|---|---|
| Material | Aluminum Alloy |
| Total Weight | 53.7g |
| Package Includes | Quick Release Upper Base ×1 Quick Release Lower Base ×1 Hex Screw ×1 |
| Upper Base | Weight: 35.5g Dimensions: 40mm × 30mm Thickness: 10.6mm – 14.9mm Button Extension: 12.8mm × 5.6mm × 2.9mm |
| Lower Base | Weight: 15.3g Dimensions: 40mm × 30mm Thickness: 3mm – 8.8mm |
| Hex Screw | Length: 13mm Head Diameter: 12mm Thread Size: M6 |
| Highlights | CNC-machined metal for precision fit. Durable and easy to install/remove. Ideal for motorcycle dash cam mounting. |
How to Remove the Ball Head and Replace It with a Quick-Release Mount
If you need to remove the ball head and the damping base, please follow the steps below:
Removing the Ball Head:
- The ball head and the damping base are pre-installed and secured with thread-locking glue, making them very tight.
- If you try to unscrew it by hand or with a regular wrench, it may not come off easily.
- The thread glue needs to be heated to soften before removal.
Steps:
- First, remove the ball head bracket from the base.
- Wrap a dry towel around the ball head or wear heat-resistant gloves to hold it.
- Use a heat gun or lighter to heat the screw that connects the ball head to the damping base.
- After heating for a while, use a hex wrench to unscrew the bolt.
Installing the Quick-Release Mount:
Once you've separated the ball head and damping base:
- Loosen the screws on the quick-release mount.
- Attach the thinner part of the quick-release unit to the base using screws.
- Attach the thicker part to the ball head and bracket body.
- After assembly, align both parts of the quick-release mount on the same plane and slide them together horizontally to complete the installation.
To remove the quick-release mount:
- Press and hold the red button, then slide the two parts apart in the opposite direction along the same plane.
Customers praised the mount for its "high quality" aluminum construction and easy installation. The quick-release mechanism is "very slick" and secure. However, some noted the connector is positioned too far from the display, and one customer reported fit issues with the C3 Plus. A few mentioned the screw can loosen and suggested a lockable version would be ideal.
- Excellent solution and offers complete peace of mind.
- Very slick mechanism, easy to slide in and out. Dashcam unit is very secured.
- Very good product, fits perfectly, good shipping time.
Compre esta base de quitar rápido para el C3 Plus, es extraño porque incluso en la pagina es la opción, cuando me llego la Pantalla y la base de quitar rápido, pues la base no encaja bien, la montura del C3 Plus no es una bola, por lo que queda en mal Angulo, no existe manera de ajustarlo, lo único es ponerla con el botón rojo hacía abajo y desplazar la unidad de izquierda a derecha para quitar la pantalla, en lugar de ser hacía arriba.
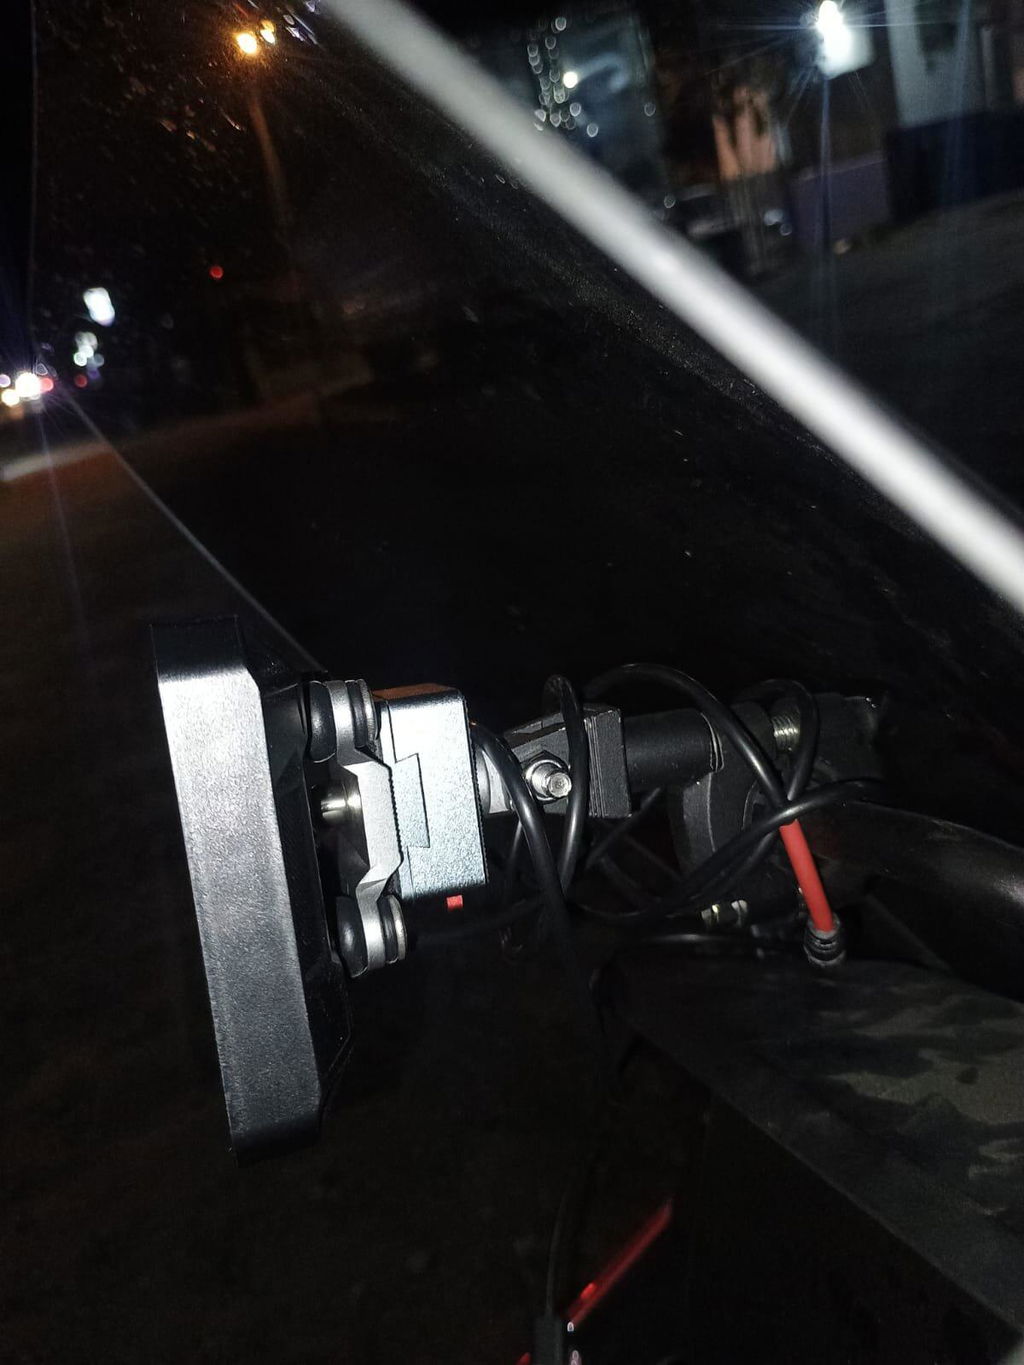
We apologize for the inconvenience caused. This quick-release mount is compatible with the C3 Plus. For any installation issues, please contact our after-sales support team via email at support@aoocci.com.
Release mount is of good quality
Thank you for the review! We're glad to hear you're happy with the quality of the mount. At aoocci we put a lot of care into every component, so it's great to know the mount is holding up well for you. If you have any questions or need support down the road, feel free to reach out anytime. Thanks for choosing aoocci!
Simple easy installation and manufactured well.
Thank you so much for your kind review!
We are pleased to hear that the installation is straightforward and you are satisfied with the build quality of our product.
Please feel free to contact us anytime if you need further assistance.
A well made accessory, however, to use the quick release facility the in line connector is too far from the unit. The connector should be within 100 - 150 mm of the display.
Thank you very much for your honest feedback 😊
We’re glad you find this accessory well-made. We fully understand your point about the inline connector being positioned too far from the unit to conveniently use the quick-release function. Your suggestion that the connector should sit within 100–150 mm of the display is very valuable for our product optimisation.
We will forward this comment directly to our R&D team for reference in future design revisions.
If you have any further questions or need technical tips during installation, feel free to contact us anytime. Safe riding!️
Perfect forn Aoocci C3 Plus. Easy to install.
Excellent. Feet perfectly with 6 pro
Thank you so much for your kind review! We're thrilled to hear it fits perfectly with your C6 Pro! Enjoy your rides, and please don't hesitate to reach out if you ever need anything. Happy riding! ️🙌
Best Regards,
AOOCCI team
Very good product, fits perfectly, good shipping time, all in all a very good company to deal with. Recommend to all.
Thank you so much for your wonderful review! 😊
We’re really happy to hear the product fits perfectly and that you’re satisfied with our shipping speed. It means a lot that you think we’re a great company to deal with and willing to recommend us to others.
We truly appreciate your support!
La pieza es de aluminio con un buen acabado y calidad.
Hay que estar pendientes del tornillo que lo sujeta ya que se afloja y hay riesgo de perder la base del soporte. El fijador de roscas no se puede utilizar porque se bloquea el pestillo de seguridad.
¡Muchas gracias por tu reseña y por compartir tus comentarios con nosotros! Nos alegra saber que estás satisfecho con el acabado y la calidad del aluminio del soporte.
También agradecemos mucho que nos hayas comentado el tema del tornillo que se afloja. Tienes toda la razón en que el fijador de roscas no es ideal en este caso, ya que puede bloquear el pestillo de seguridad. Transmitiremos tu comentario a nuestro equipo de producto para que lo tengan en cuenta en futuras mejoras.
Best Regards,
AOOCCI team
Well done, high qualiity part, and great technical support. Thank you
Thank you so much for your kind words!
We’re delighted to hear that you’re satisfied with the product quality and our technical support. Your feedback truly means a lot to us.
If you need any assistance in the future, please feel free to reach out anytime. Thanks again for your support! 😊
Best Regards,
AOOCCI Team
It’s an excellent solution and offers complete peace of mind. When I’m not using CarPlay, I can easily remove it and keep it safe. In India, people can be very curious—sometimes they may take something even if it’s of no use to them.
Thank you so much for your kind feedback!
We’re really glad to hear that our product provides you with a great experience and complete peace of mind. It’s wonderful that you find it convenient to remove and store safely when not in use.
Your satisfaction means a lot to us, and we hope you continue to enjoy using it!
Best Regards,
AOOCCI Team
This mount gives peace of mind for overnight parking when on tour. So easy to pop the C3 in my jacket pocket when locking the bike up for the night.
Thank you so much for taking the time to leave this fantastic review!
We’re absolutely thrilled to know that our quick-release mount has been a game-changer for your overnight parking during tours, and that the hassle-free removal of your C3 (perfect for slipping into your jacket pocket) gives you the peace of mind you deserve. This practical design is crafted specifically for riders like you who prioritize convenience and security on the road.
We truly appreciate your support and hope you enjoy many more smooth, worry-free adventures with our gear!
Warm regards,
AOOCCI Team
Its ok
Thank you for your feedback! We’re glad to hear you find the product satisfactory—even a simple “it’s ok” is an encouragement for us. If there’s anything you’d like to see improved in the future or if you encounter any issues during use, feel free to let us know. We’ll do our best to enhance your experience. Hope you enjoy using it! 😊
Aoocci Team
its very slick mechanism, easy to slide in and out. dashcam unit is very secured.. overall good item to put in motorcycle.
Nice build quality, easy to operate
Very easy to fit and easy to use clicks into place nicely and made of good quality materials
Very easy to fit and just as easy to use, a well designed product
Easy install , nice positive mount.easy to detach & re attach. Only thing is now it's not locked ! So in a perfect world a lockable quick release mount would be ideal if possible.
But as a quick release mount its good