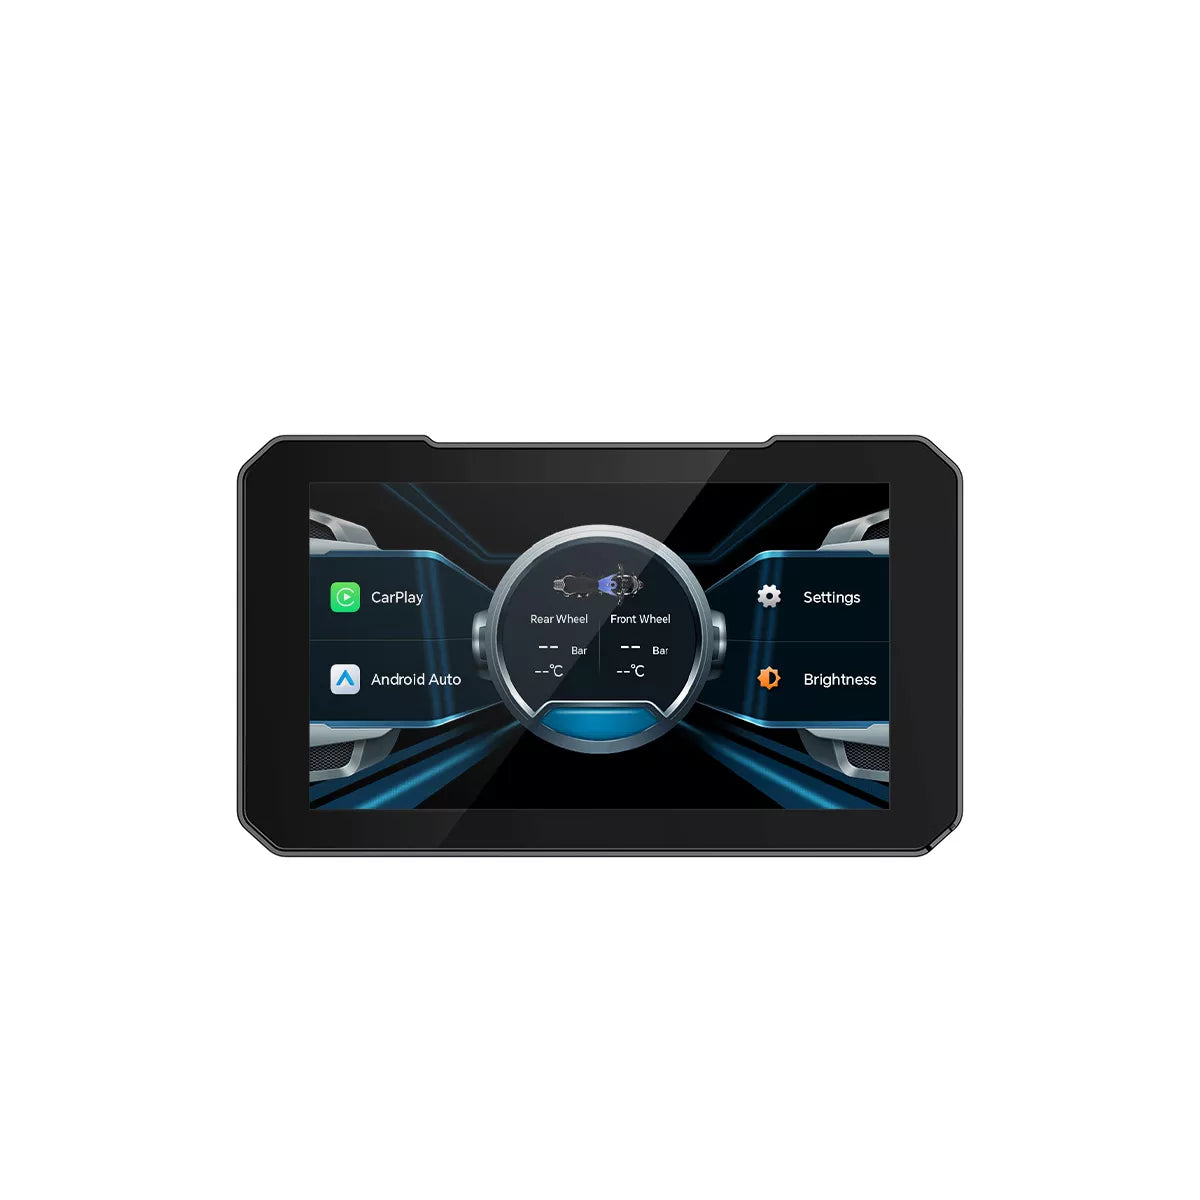
Updates
C7 Firmware Update
- Burning Software
- Burning Files: Burning Files
Firmware Upgrade Instructions
1. Extract the files from the compressed package.

2. Run the executable file: Launch PhoenixCard.exe.

3. Connect the hardware:
- Insert the card reader into your computer
- Connect a MicroSD card to the reader

4. Software interface:
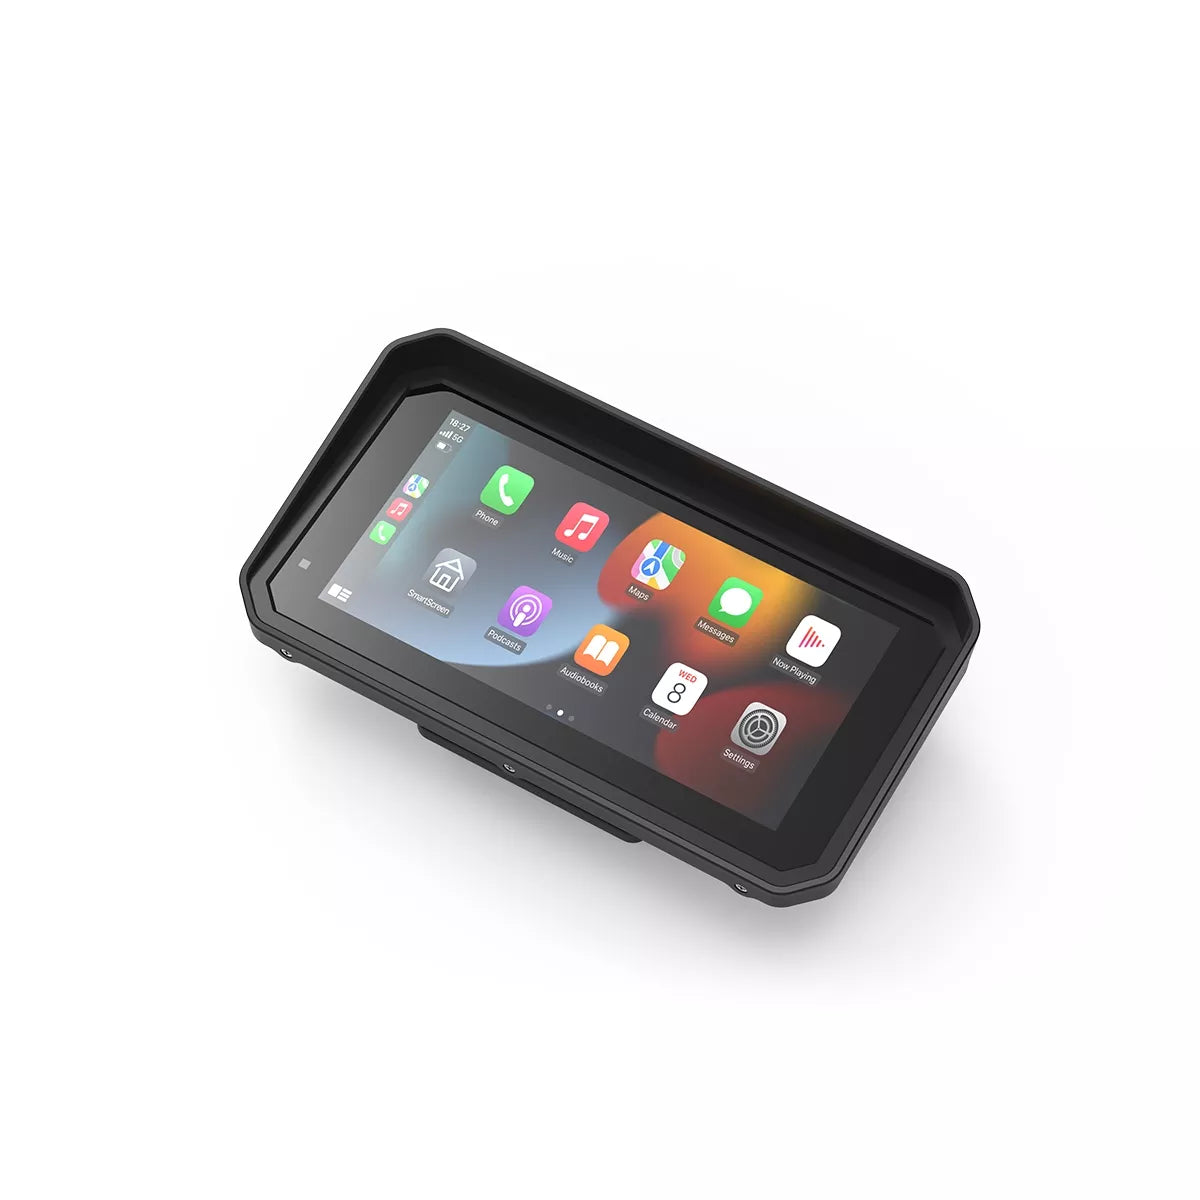
The PhoenixCard interface will appear as shown below:
(Insert screenshot/image of the interface here)

5. Select firmware:
In the pop-up dialog box, choose the firmware file to upgrade.\

6. Burn mode configuration:
- Select "Card Mass Production" mode
- Click "Burn" to begin the process

7. Complete the upgrade:
- Insert the card into your device
- Power on to initiate automatic upgrade (progress bar will display)
- After completion:
- Power off the device
- Remove the card
- Power on again to boot normally

BX Firmware Update
Before You Begin
- Check your current firmware version.
- The latest version is v0.0.9 (released July 2025).
For devices purchased BEFORE July 4, 2025 (running v2.0.1).
- You must first upgrade to v0.0.5 via MicroSD card → [Download v0.0.5].
- After installing v0.0.5, subsequent upgrades can be done via OTA.
For devices purchased AFTER July 4, 2025
- Direct OTA upgrade is supported (no MicroSD step required).
📄 Download Upgrade File v0.0.5 (2025-07-03)
MicroSD Card Upgrade Procedure
- Insert the MicroSD card into the target device and format it, or format it using a computer.

- Extract the upgrade files and copy all contents from the folder to the newly formatted MicroSD card.

- Power off the target device, insert the MicroSD card containing the upgrade files, then power it on. Wait for the upgrade to complete. The device will automatically reboot once finished.
OTA Upgrade Procedure
Tip: To use OTA updates, the version must be at least V0.0.5.
- Ensure the target device has a TF card inserted and that a smartphone with mobile data (and the Motonavi app installed) is available. (Register an account if needed.)
- Open the Motonavi app on the smartphone, tap the OTA option on the main interface, and proceed with the OTA upgrade. The app will transfer the upgrade package to the device.
- Once the upload is complete, the device will display an upgrade prompt. Confirm the upgrade and wait for it to finish. Do not operate the device during the upgrade process.
C6 Pro Firmware Update
- Burning Software
- Burning Tutorial
- Burning Files:
- Burning Files (2025.08.26)
- Burning Files (2025.05) - Applies to C6 & C6 Pro devices from production batches October 2024 through March 2025.
Update Includes:
- Enlarged tire pressure monitoring font
- Support for +0.5 time zones (e.g., UTC+4.5, UTC+5.5)
- Added Polish language support
Warning:
- Do not power off the device during the upgrade process.
- C6 firmware upgrades are only supported via Windows-based computers.
- If you wish to keep your custom boot screen, do not perform the update.
C3 Plus Firmware Update
-
Burning Software
- Burning Files: Burning Files
Firmware Upgrade Instructions
1. Extract the files from the compressed package.
2. Run the executable file: Launch PhoenixCard.exe.
3. Connect the hardware:
- Insert the card reader into your computer
- Connect a MicroSD card to the reader
4. Software interface:
The PhoenixCard interface will appear as shown below:
(Insert screenshot/image of the interface here)
5. Select firmware:
In the pop-up dialog box, choose the firmware file to upgrade.\
6. Burn mode configuration:
- Select "Card Mass Production" mode
- Click "Burn" to begin the process
7. Complete the upgrade:
- Insert the card into your device
- Power on to initiate automatic upgrade (progress bar will display)
- After completion:
- Power off the device
- Remove the card
- Power on again to boot normally
Manuals


F.A.Q.
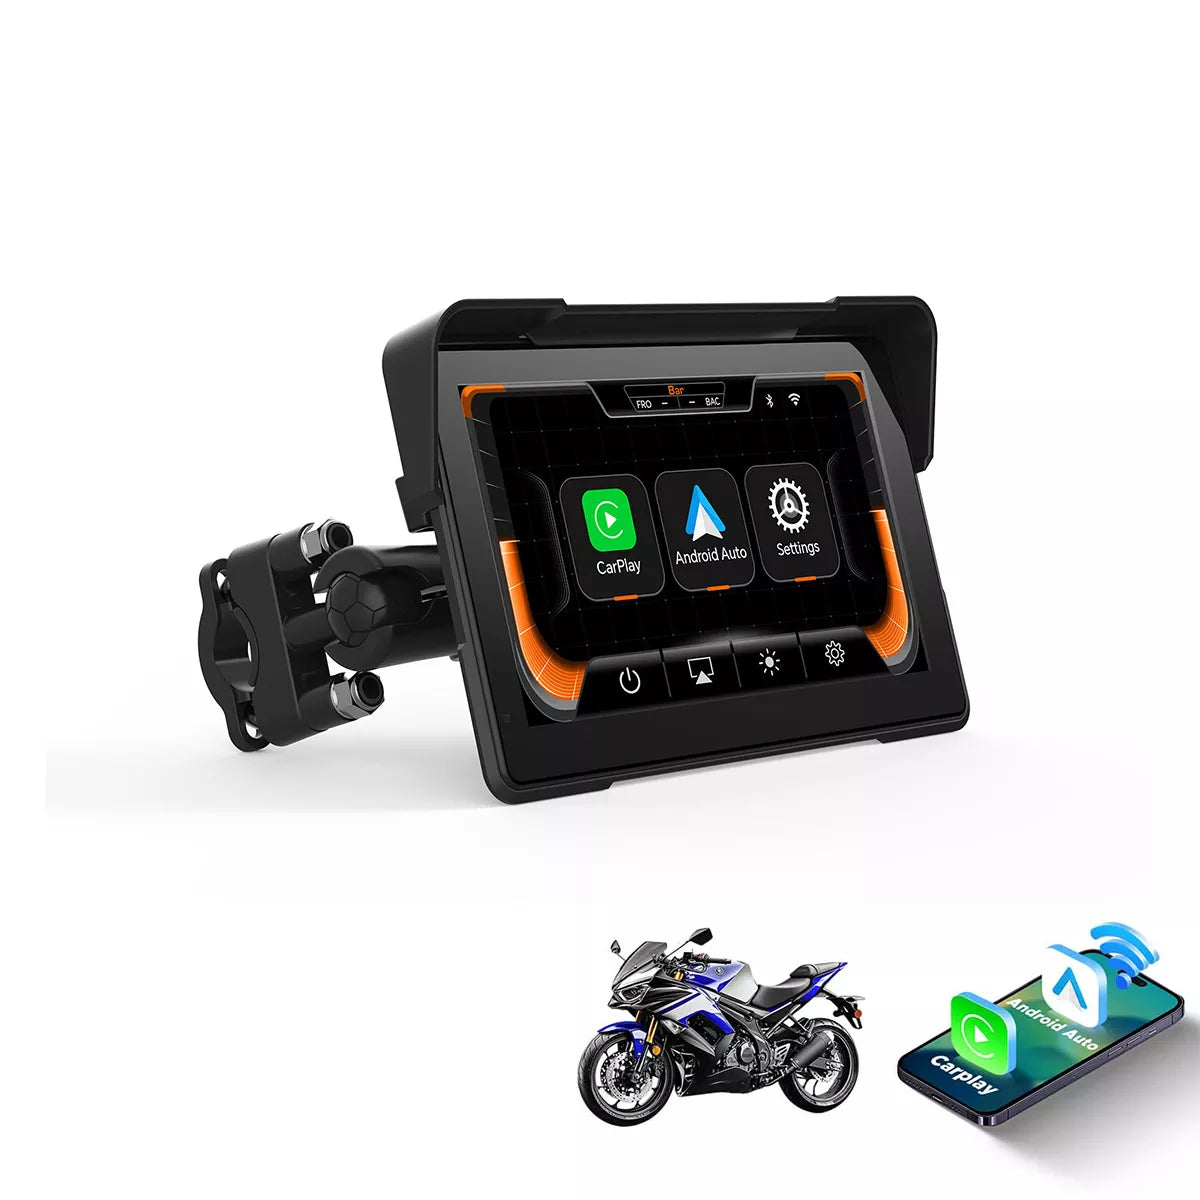
How to connect ACC cable correctly?
The positive and negative terminals of step-down cable are connected to the positive and negative terminals of the motorcycle's power supply, and the ACC cable is connected to the motorcycle's ignition wire.
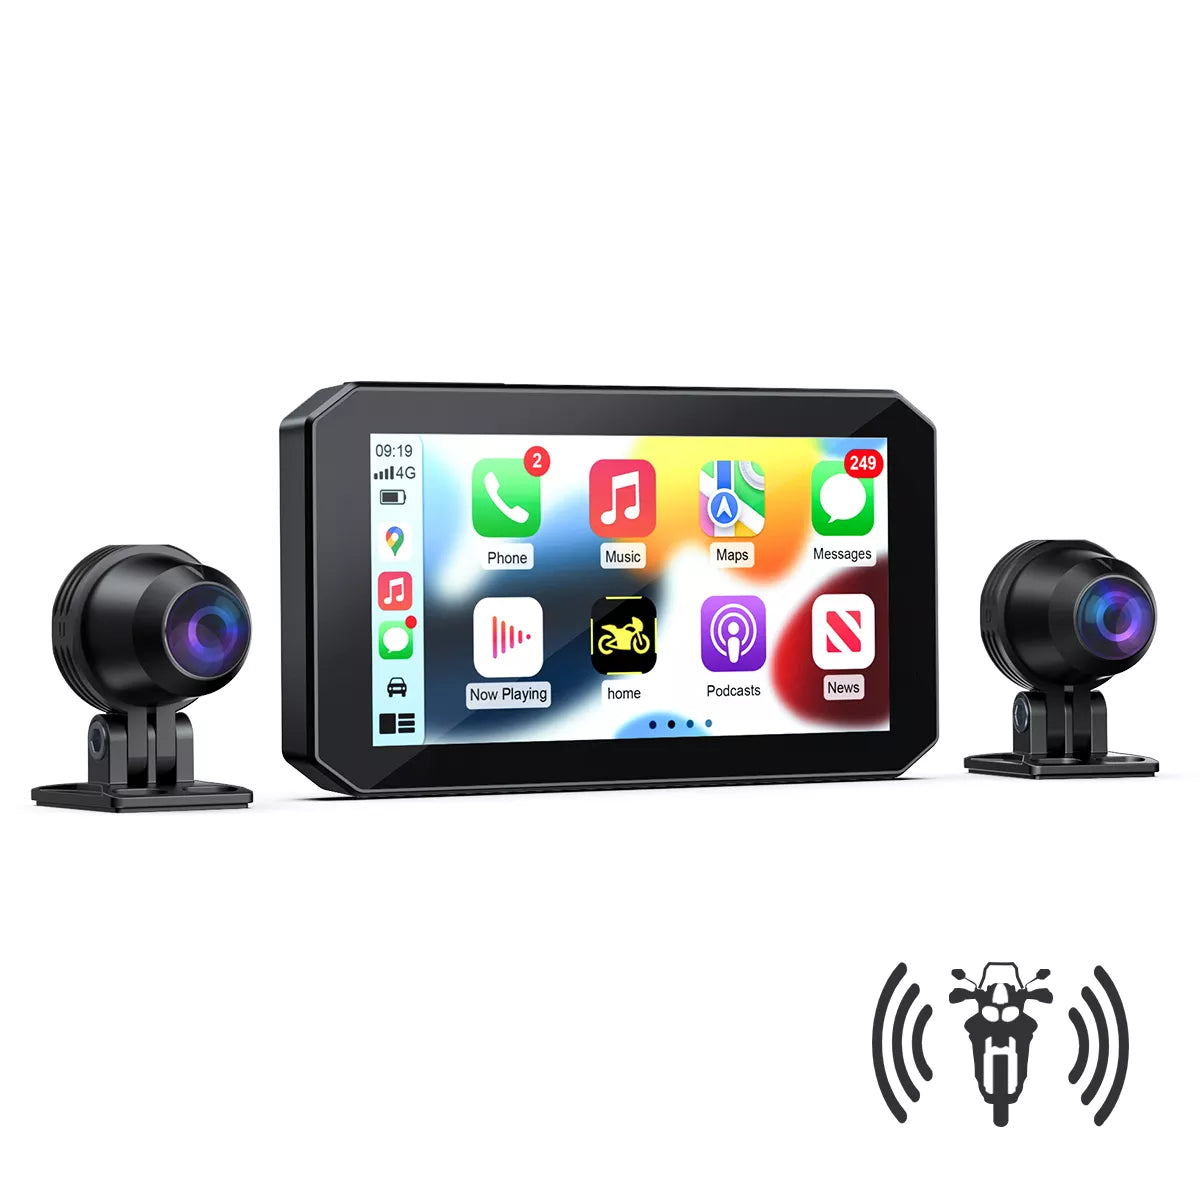
How to view the recorded videos on your phone?
In the settings, the last icon has a QR code that you can scan to download the app. Once installed, you can use the app to view the recorded videos and save them onto your phone.
How do I replace the wireless controller battery?
Tear off a layer of stickers on the back of the remote control, and the screws will leak out, and you can replace the battery with a new battery by removing the screws in one circle.


4 thoughts on “Help - Motorcycle Dash Cam”
Roy nelson
Hi my wife has just bought me the c6 pro , however I haven’t been able to fit the monitor to my motorcycle as the mount that came in the package is to small for the handle bars of my motorcycle do you supply bigger handle bar mounts, thank you .
Regards
Roy
Bob Washko
On the Motorcycle Dashcam, can I change the panel speed unit from KPH to MPH?
If so who can I do that?
Thank You,
Bob
Steve
Hello,
I purchased a Aoocci C601 Motorcycle 6" GPS Dash Cam 1080P CarPlay/AA and I’m having a problem using an installed navigation app called DMD2.
When initially installed I can use the app OK, however when I try to reopen the app from the app page I only see a blank screen.
Can you please try to install the DMD2 on your device and test that you can close and reopen it:
https://play.google.com/store/apps/details?id=com.thorkracing.dmd2launcher
H BENNETT
I cant PAIR the BT Remote. How do I Open the REMOTE to change the battery?