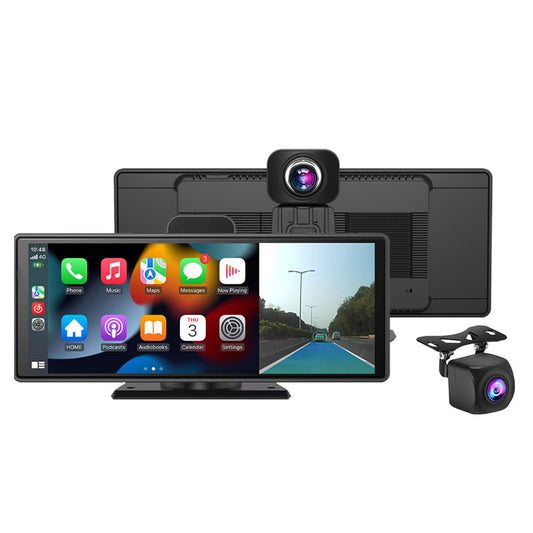
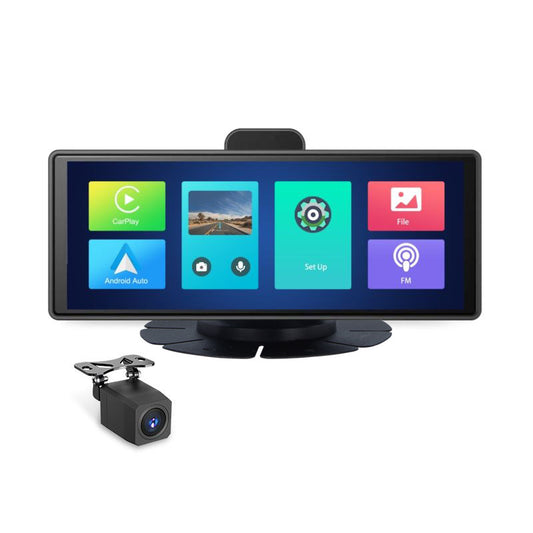
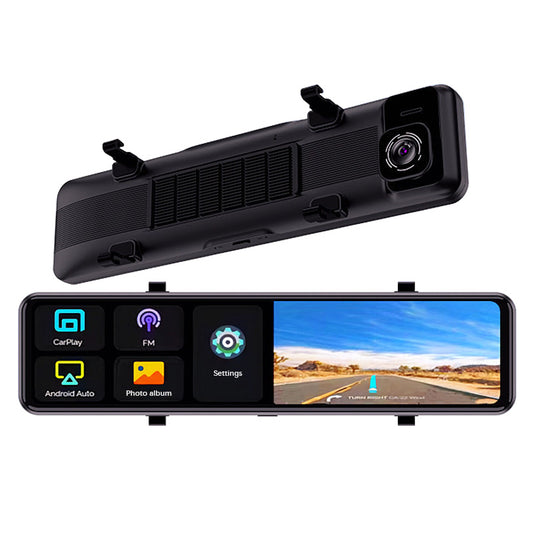
This is a CarPlay Smart Box suitable for CIC head unit.
It is currently compatible with the following models:
✅ BMW 1/3/5/7 Series X1 X3 X5 X6 Z4 Mini Cooper (CIC) 2008-Present - (CSBBM-3)
✅1 Series ( 2008.09-2014.03, Chassis: E81/E82/E87/E88, Head Unit: CIC) - (CSBBM-3)
✅1 Series ( 2011.09-2013.03, Chassis: F20/F21, Head Unit: CIC) - (CSBBM-3)
✅3 Series ( 2008.09-2013.10, Chassis: E90/E91/E92/E93, Head Unit: CIC) - (CSBBM-3)
✅3 Series ( 2012.02-2012.11, Chassis: F30/F31/F34/F80, Head Unit: CIC) - (CSBBM-3)
✅5 Series ( 2008.11-2010.05, Chassis: E60/E61, Head Unit: CIC) - (CSBBM-3)
✅5 Series ( 2010.03-2012.09, Chassis: F07/F10 , Head Unit: CIC) - (CSBBM-3)
✅7 Series ( 2008.11-2013.07, Chassis: F01/F02/F03, Head Unit: CIC) - (CSBBM-3)
✅MINI ( 2009.10-2013.04, Head Unit: CIC) - (CSBBM-3)
✅X1 ( 2009.10-2015.06, Chassis: E84, Head Unit: CIC) - (CSBBM-3)
✅X3 ( 2010.10-2013.04, Chassis: F25 , Head Unit: CIC) - (CSBBM-3)
✅X5 ( 2009.10-2013.06, Chassis: E70, Head Unit: CIC) - (CSBBM-3)
✅X6 ( 2009.10-2014.08, Chassis: E71, Head Unit: CIC) - (CSBBM-3)
✅Z4 ( 2009.04-Present, Chassis: E89, Head Unit: CIC) - (CSBBM-3)
And for other BMW CIC head unit models, please contact us.
The detailed steps are as following:
1.Take out dashboard and air conditioning panel.

2.Remove Out CIC Head Unit.

3.Take out original LVDS cable.

4.LVDS extension cable one side connect to LCD-out, another side connect to original LVDS cable.

5.LVDS IN cable one side connect to LCD-IN, another side connect to CIC head unit.

6.Take out iDrive cable under iDrive knob, convert with iDrive adapter.

7.Layout well iDrive cable, then connect with CarPlay box power cable.

8.AUX cable connect from original AUX IN port to kit Power cable AUDIO-OUT.

9.WiFi antenna.

10.Install the USB port at good position.

11.Connect Microphone and install at good position.

12.Before cable layout, test all functions at first.

13.Reverse camera connection.

14.Connect with Rear RCA cable and red power cable.

15.Setup dip switch according installation diagram, and don't forget dip switch 8 OFF for aftermarket camera.

16.HD images with reverse guideline and parking.

17.Layout all cables well.Then assemble back all control panels, job done.

18.Connect cables well with the box, and locate under glove box wound be okay.

19.Select AUX external before switch to CarPlay.

20.Long press "MENU" switch to the CarPlay system joystick knob controls.

21.Turn on of iPhone's bluetooth, pairing with IDCORE.

22.Will enter CarPlay automatically, enjoying.


